1. Checking the dye Ink Levels
If your printer isn’t alerting you to replace any cartridges and you wish to know which cartridges need replacing, you can check your printer’s ink levels by following these steps:
- Press the Home Button (HOUSE icon).
- Go to Setup then hit the OK button.
- You’ll see Ink Levels as the first option so simply hit the OK button.
- You can now see your printer’s ink levels on the LCD screen.
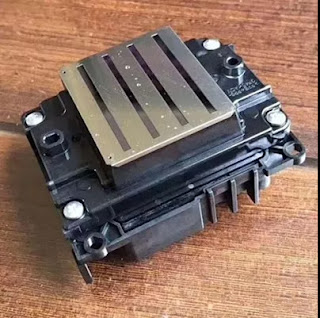
Before you begin, it’s important that you have your replacement cartridges on hand before you remove the empty ones. Leaving your print head exposed to open air can lead to clogs that are difficult to clean, and may result in the need for replacement.
1. Turn on your printer unit using the power button.
2. If you already have empty cartridges, you will see a message on your LCD screen noting which cartridges need replacement. Hit “PROCEED” and follow the instructions on the screen.
3. If you are replacing a cartridge before it is empty:
- Press the Home button (HOUSE ICON).
- Go to Setup then hit OK.
- Scroll to Maintenance then hit OK.
- Scroll to Ink Cartridge Replacement then press OK.
5. Wait for the printhead to stop before taking out the cartridges.
6. IMPORTANT: Be careful NOT to TOUCH the printhead and the flat white cable inside the printer.
7. Squeeze the tab at the back of the cartridge you want to replace toward you and pull the cartridge straight up. It should slide out easily with a little wiggling at most. Be careful when you handle the spent cartridge, as leftover ink residue can stain your clothing, furniture, carpet, or hands. If you get ink on your hands, wash it thoroughly with soap and water. In the event ink sprays into your eye, flush it with cool water until clean. Keep ink cartridges out of the reach of children for all the reasons listed above.
8. Gently shake your replacement cartridge up and down four or five times while it’s still in its sealed wrapper. Shaking helps redistribute the ink throughout the cartridge if it has settled.
9. Remove it from the plastic package.
10. Remove the yellow tape that seals the cartridge. This yellow tab is the only thing you should take off. DO NOT take anything else off.
- Do not remove the other seals as this will result in leaking.
- Do not touch the green chip on the cartridge.
- Do not remove the label.
12. Close the cartridge cover. Select “CHECK” on the LCD screen to make sure the cartridge is installed correctly. If so, close the scanner lid.
13. Your printer unit will automatically start priming the new cartridge. Priming should take a few minutes. Once completed, you will see a message on your LCD screen saying that your printer is ready to print!
It’s important to note that installation instructions for some Epson inkjet printers might differ but they will follow the same basic steps.
In the end, if you want know more about epson inkjet printer or other brand printers, please welcome to contact us at any time. We will provide you the best quality product and service. Hope my article can be useful to you. Thank you for your reading.


没有评论:
发表评论